


If you have special friend or family member that likes to journal, you can make them a memorable priceless gift that they will love and enjoy. It’s easy to make and inexpensive too. All you need are some photos, glue, varnish, scrapbook paper, a journal and some computer knowledge.
You can design a personalized cover for a journal that is just for your loved one. If you want this journal to last over time, you will need to use all acid-free paper, glue and varnish. Scrapbook papers come acid-free, and you can find certain brands of glue and varnish to be acid-free too.
The first thing you will need to buy is an inexpensive journal with a hard cover that you can pick up at local retail store or an office supply store.
Advertisement - Story continues below
Request advertising info. View All.
Then you will need to find photos that you will want to use for the cover. They can be of the person’s family, their vacation, or whatever you can think of.
Go to the craft store and buy scrapbooking paper that you can use with the photos for your cover. It’s preferable to stick with a color scheme so that everything will blend nicely together. Using a rust or reddish color tones may look good with sepia-colored photos. Also purchase decoupage glue and acrylic varnish.
Use your computer to print the photos out on white paper, not glossy photo paper. Print them in color or adjust the color for a more yellow or sepia appearance. It will give the cover an antiqued- look.
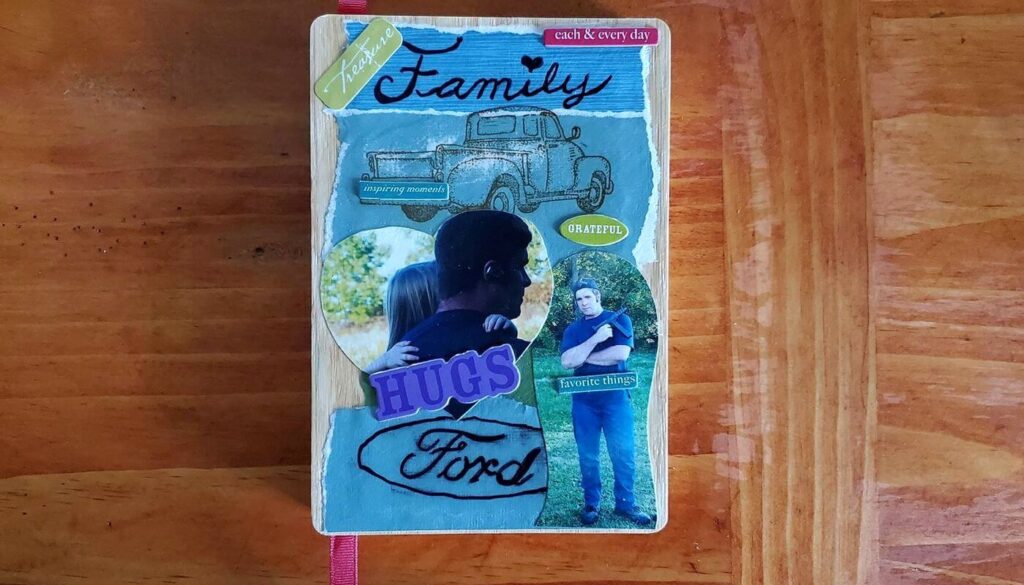
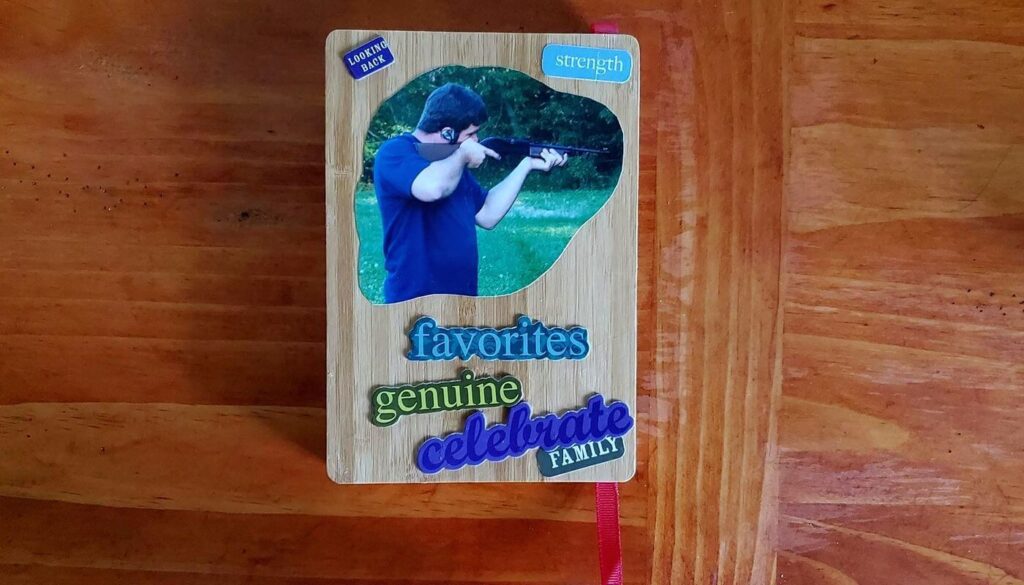
The next thing you will want to do is to cut the photos down to different sizes, you can even tear edges to give it a raw-edged look. The same can be done with scrapbook paper. You can tear them into different shapes and sizes.
Then you will want to lay out the photos and overlap them with pieces of scrapbook paper. You will want pieces that will extend across the binding onto the back. The tricky part is to have pieces that will extend as flaps around the edges of the book. If you open the book to the inside, you will want the flaps to have nice straight lines parallel to the edges of the book. It will look much neater to do it that way. Look at other books for guidance to see how the flaps are done on them.
When you have all your pieces where and how you like them, then it is time to use the decoupage glue. You will want to do this in stages. First glue your edge pieces on the front of the book. You may have to glue the front edges down first, then let it dry. Open the book to the inside, fold the rest of the edge pieces to the inside and glue them down. Be careful not get glue all over the inside. Let it dry.

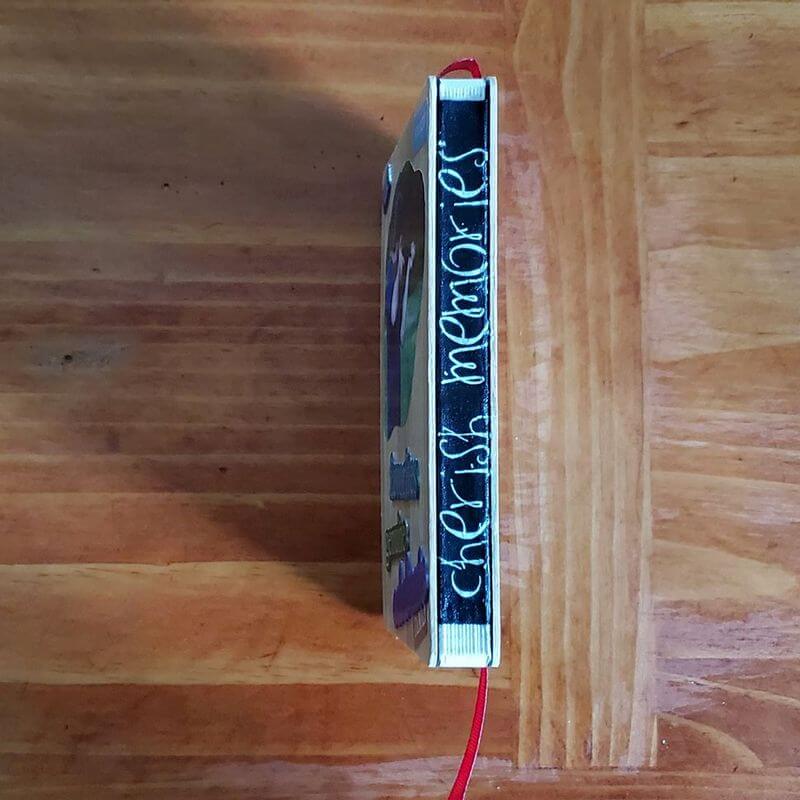
Then stand the book up so the binding is facing up. Glue your pieced down on the binding and let it dry. Next glue all your photos and scrapbook pieces down on the front cover. Let it dry. The glue will dry clear if it gets on pieces that you have already glued down. Finally, flip the book over and repeat as you did on the front side with the edge pieces. Let them dry. Then glue down the remaining pieces on the back cover. Let that dry.
Once the book is completely dry, go back and shellac everything with the acrylic varnish. Again you will have to do it in stages and let it dry. Embellish the book with items such as a matching-colored ribbon that can be used as a bookmark. Use buttons or other decorations that can be glue-gunned onto the cover.
Your finished product is a labor of love that will look professional and will encompass memories that your family or friend will truly appreciate.